The Serverless Framework has seen a lot of changes over the last few months. The team released a 1.0.0 beta which simplifies and improves the framework.
In June I wrote about deploying a Serverless v0.5 project. Deploying a v0.5 project was a convoluted process. The new deployment process introduced in the 1.0.0 beta is simple.
The Serverless Framework separates environments through stages. A stage allows you to separate and isolate a project’s AWS resources.
In this example, I am going to leverage Git and Gitflow to deploy code to production and dev. The master *and develop *branch will be deployed to production and dev.
The Serverless Framework now deploys all resources, functions and endpoints with CloudFormation. This is a major improvement that helps simplify the deployment process.
Deploying a Serverless 1.0.0 project has one step:
export AWS_REGION=us-east-1 # or whatever
export AWS_PROFILE=xx # or AWS_ACCESS_KEY_ID & AWS_SECRET_ACCESS_KEY

sls deploy --stage $STAGE
If you have deployed a v0.5 project in the past, the new process will delight you. The Serverless team have done a great job identifying a pain point and removing it.
Now that we can deploy a project, lets look at automating it. Automating deployments is easy with TravisCI. The first step is to create a .travis.yml file.
language: node_js
node_js:
- '4.3'

env:
  global:
    - AWS_REGION=us-east-1
    - SLS_DEBUG=true

before_install:
  - npm i -g [email protected]

script: ./deploy.sh
The next step is to create a deployment script. The deployment script will select the current stage and run the serverless deploy command.
#!/bin/bash
set -e

BRANCH=${TRAVIS_BRANCH:-$(git rev-parse --abbrev-ref HEAD)}

if [[ $BRANCH == 'master' ]]; then
  STAGE="prod"
elif [[ $BRANCH == 'develop' ]]; then
  STAGE="dev"
fi

if [ -z ${STAGE+x} ]; then
  echo "Not deploying changes";
  exit 0;
fi

echo "Deploying from branch $BRANCH to stage $STAGE"

npm prune --production  #remove devDependencies

sls deploy --stage $STAGE --region $AWS_REGION
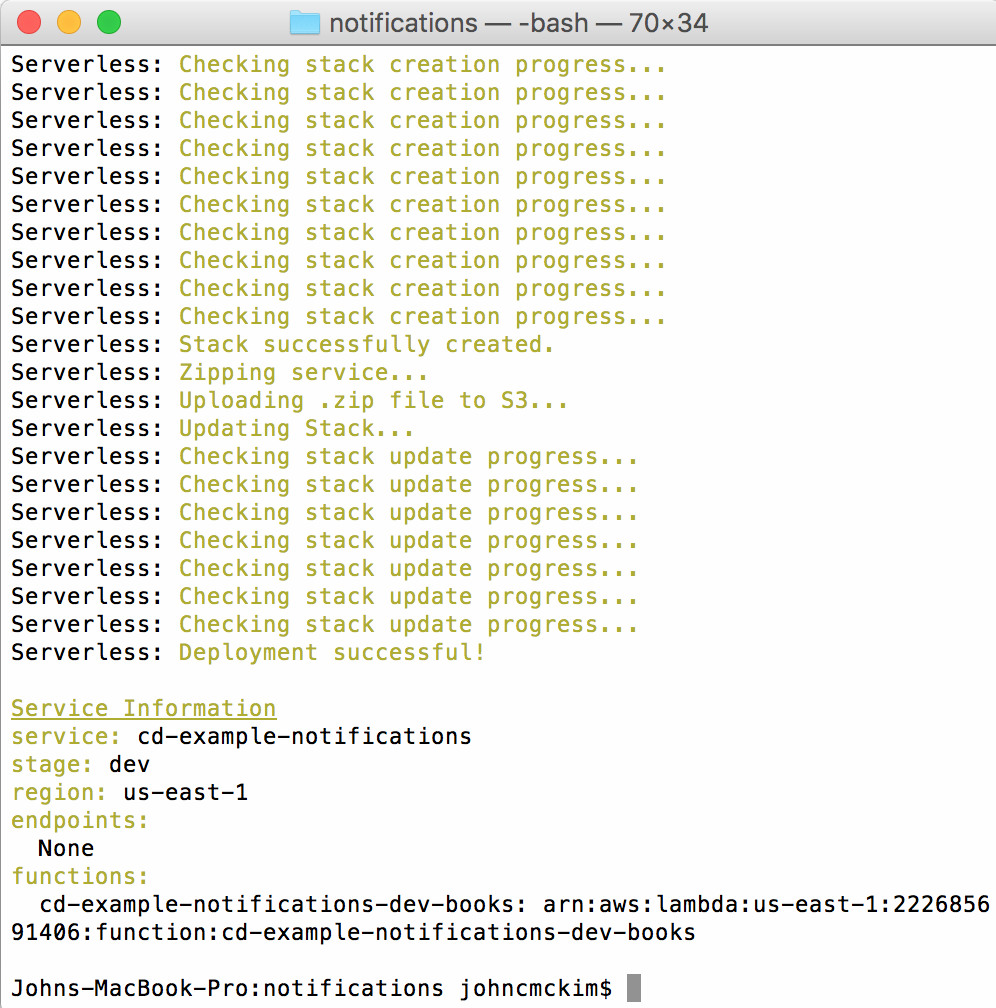
Let’s take a look at what happens when we run a deployment on a new project. The new deploy command has four basic steps.
If it doesn’t exist, create a CloudFormation stack to create a S3 bucket
Package all functions into a zip
Upload functions to S3
Update CloudFormation stack with resources
 Running sls deploy for the first time
If there is a problem deploying your project, the CloudFormation will attempt to rollback. Be aware that this does not always work.
 Updating stack
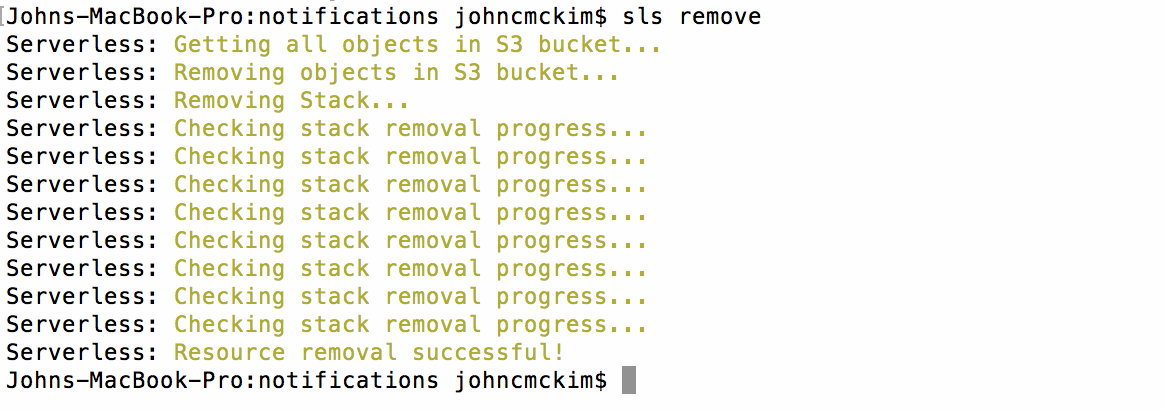
Using CloudFormation for all resolves has also simplified the removal of AWS resources.

This removes the S3 bucket containing your code and the CloudFormation stack.
If you have used Serverless v0.5 there are some differences to be aware of.
There is no longer a _meta folder for managing environment variables and secrets. The current way to do this is to place variables in *serverless.env.yaml *(Aug 2016). There is a issue on Github discussing the best way to manage environment variables. So we are likely see some changes to this.
Using CloudFormation for all resources has changed how the API Gateway resources are deployed. There is now a separate API Gateway for each stage. This means you will now have a different URL per stage. If you were only changing the path on your client, i.e. /dev to /prod, you will need to update your code.
Using CloudFormation for all resources has also changed how the Lamnda functions are deployed. There is now a separate Lambda function for each stage. Version 1.0.0 does not yet support Lambda versions and aliases. But there are plans to implement it.
The code for this post is available on Github. The repo is part of a new Gihub organisation for Serverless Examples. I am aiming to build a set of useful examples of various serverless frameworks for the community. I would love help with this, so if you would like to contribute add a response or message me on Twitter.
If you want to see more articles like this, follow Serverless Zone and myself on Medium or Twitter.