Response Templates
UPDATE: Serverless 1.0 was released earlier this year. There are a lot of improvements in v1.x. I suggest you go and read the docs for the most up to date information.
In Part 1 and Part 2 of this series we looked at accepting requests with AWS Lambda by converting a simple Express app to Serverless. The Express app accepted a GET and POST request and responded with simple JSON objects and a status code of 200 (OK). HTTP Responses in a real world app are more complex than 200 OK, so the next step is to look into custom headers and other HTTP Status codes.
Middleware functions in Express are functions that are used to add functionality to the request pipeline. It can be used to log requests, transform requests, add headers to a response and in many other ways.
I have added a piece of middleware to our Express app to set the X-Frame-Options header to all our responses.
app.use(function (req, res, next) {
  **res.setHeader("X-Frame-Options", "DENY");**
  next();
});
I have also updated our POST method to return a 201 (Created) HTTP Status code and added a Last-Modified header from our foo object.
function **setLastModified(res, foo)** {
  **res.setHeader(**
    **"Last-Modified",**
    dateFormat(foo.lastModified, "ddd, dd mmmm yyyy, h:MM:ss Z")
  );
}

app.post(‘/foo’, function (req, res) {
  var name = req.body.name;

  fooService
    .post(name)
    .then(function(foo) {
      **setLastModified(res, foo);**
      res.status(**201**).send(foo);
    })
    .catch(function (err) {
      res.status(500).send();
    });
});
In Part 2 we introduced the concept of Request Templates and Templates and Variables. To convert our updated Express app to Serverless, we need to look at the other side of this, Response Templates. As mentioned in Part 2, much of what we are about to look at relates to API Gateway rather than AWS Lambda itself.
Our first task is to set a X-Frames-Options header on our response. To add this header we need to update our s-function.json configuration file.
{
 "name": "foo",
 "handler": "handler.crudFoo",
 ...
 "endpoints": [{
   "path": "foo",
   "method": "POST",

**"responses": **{
     "400": {
       "statusCode": "400"
     },
     "default": {
       "statusCode": "201",
       "responseParameters": {
         **"method.response.header.X-Frame-Options": "'DENY'"**
       },
       "responseModels": {
         "application/json;charset=UTF-8": "Empty"
       },
       "responseTemplates”: {
         "application/json;charset=UTF-8": ""
       }
     }
   },
   ...
 }]
 ...
 }
}
This is good for static headers such as X-Frame-Options. However, we need to return a dynamic header, Last-Modified. We also need to do this for our GET and POST requests.
The next step is to update our Lambda function, handler.js, to return our model and our Last-Modified header value.
function successFactory(cb) {
  return function(foo) {
    var **lastModifiedHeader** = dateFormat(
      foo.lastModified,
      "ddd, dd mmmm yyyy, h:MM:ss Z"
    );

    **cb(null, {
      lastModifiedHeader: lastModifiedHeader,
      model: foo
    });**
 }
}

function errorFactory(cb) {
  return function (err) {
    cb(err);
  }
}

function post(event, context, cb) {
  fooService
    .post(event.body.name)
    .then(**successFactory(cb)**)
    .catch(errorFactory(cb));
}
If we ran our Serverless app now, we would see a JSON object with a model and *lastModifiedHeader *property. The status code for our response would also be 200 (OK) instead of 201 (Created).
To fix this we need to update the status code, map the model property to our response body and lastModifiedHeader property to the Last-Modified header to response.
To do this we’ll create a new configuration template in s-templates.json like below.
"createdResponse": {
  "400": {
    "statusCode": "400"
  },
  "default": {
    "statusCode": "**201**",
    "responseParameters": {
      **"method.response.header.X-Frame-Options": "'DENY'"**,
      **"method.response.header.Last-Modified":
        "integration.response.body.lastModifiedHeader"**
    },
    "responseModels": {
      "application/json;charset=UTF-8": "Empty"
    },
    "responseTemplates”: {
      "application/json;charset=UTF-8": **"$input.json('model')"**
    }
  }
}
Changing the status code for our response is the simplest aspect of the change we need to make. We just have to update the statusCode property of our default response.
To return headers with API Gateway, we need to configure the responseParameters. The integration.response.body *parameter represents the model returned by our Lambda response. We can add a JSON Path expression to the end of this parameter to access parts of the response, in our case *integration.response.body.lastModifiedHeader. We can use this to set the values for Last-Modified header using the *method.response.header.HEADER *parameter.
To ensure we only return the foo object in our response, we need to configure the responseTemplates property. To do this we can use the $input variable to access our Lambda response. In our case we use $input.json(‘model’) to get the JSON string of just the model property of our result.
Finally we update our POST endpoint in our s-function.json configuration file with the new responses template as below.
{
 "name": "foo",
 "handler": "handler.**crudFoo**",
 ...
 "endpoints": [{
   "path": "foo",
   "method": "POST",
   **"responses": "$${createdResponse}"**,
   ...
 }]
 ...
 }
}
This only very briefly covers what is possible with Response mappings. I strongly suggest reading the Parameter Mappings and Payload Mappings docs.
In Part 2 we added automated testing of our HTTP endpoints. To test our changes I updated the tests to check for the Last-Modified and X-Frame-Options header as well as a 201 (Created) status code for POST requests.
function checkHeaders(res) {
  assert.ok(res.headers[‘last-modified’], ‘Last-Modified not set’);
  assert.equal(
    res.headers[‘x-frame-options’],
    ‘DENY’,
    ‘X-Frame-Options not set’
  );
}
I started the Express app and Serverless app before running the test suite.
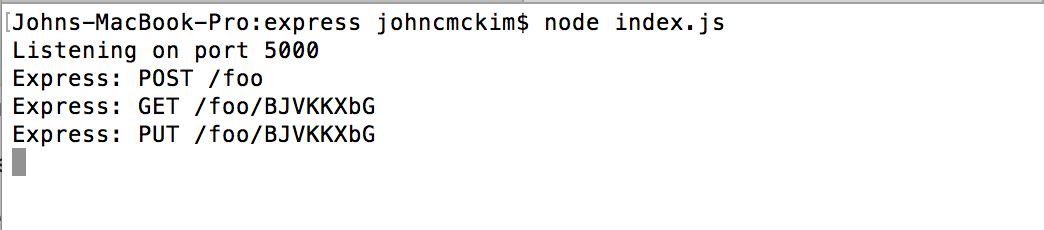 Express console during testing
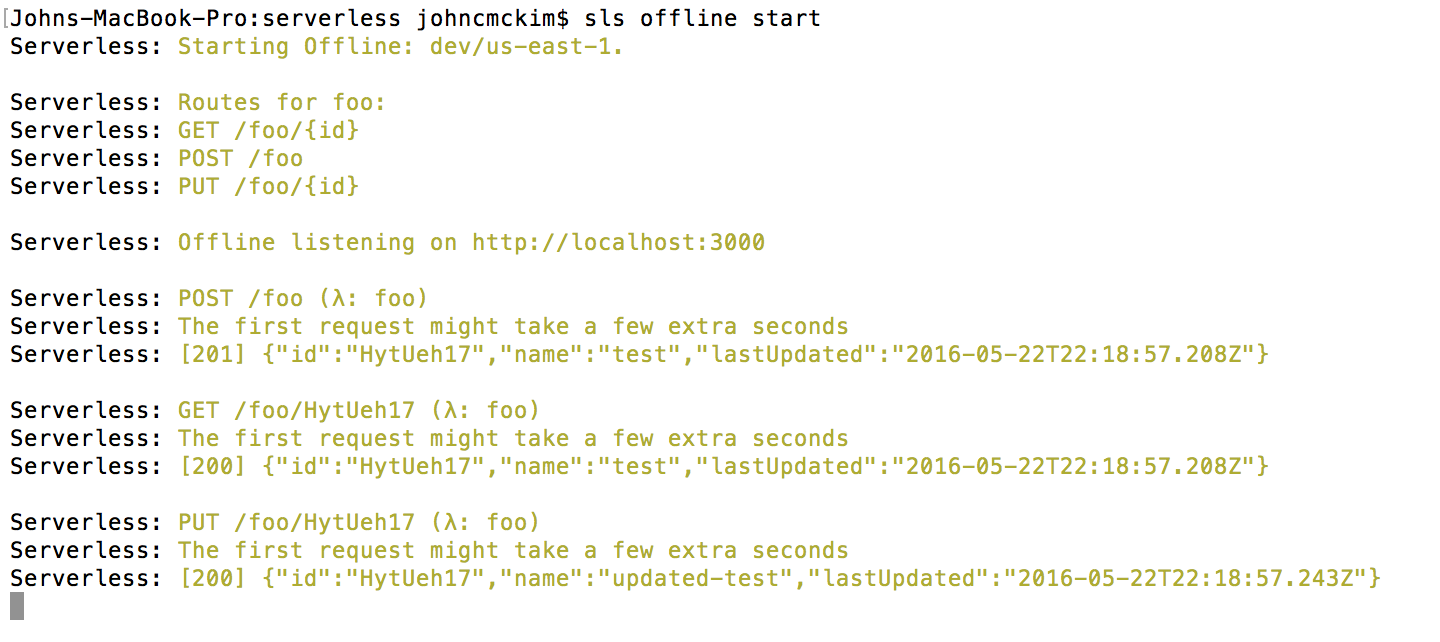 Serverless console during testing
 Test results
Response Templates brings us one step closer to converting a real world app to Serverless. However, there is still more to explore.
We haven’t covered:
I will cover those issues in future posts. If you want to explore this example more in the mean time, please check out the repo on Github.